Video Schema Markup: Improve Your Video Visibility
Video marketing is the go-to method for most companies, and I’ve got the stats to prove it.
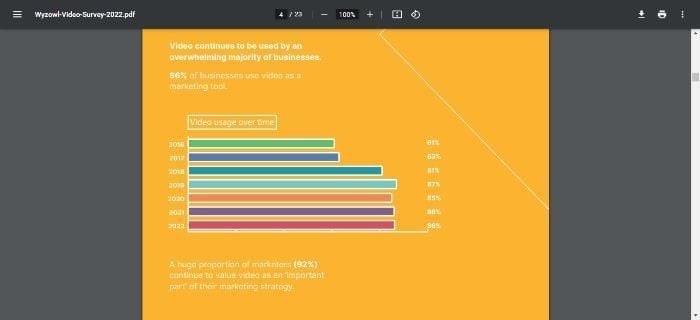
According to Wyzowl’s latest State of Video Marketing research, 86 percent of businesses use video marketing, and an incredible 92 percent say it’s an essential part of their marketing strategy.
However, posting videos only gets you so far. Once you’ve created your content, you want the maximum number of people to see it.
What’s the answer? Video schema.
Now you know what I’m talking about; let’s get to it.
What Is Video Schema Markup?
Video schema markup is a code you can add to your website. This code tells search engines how you have structured your video and helps the likes of Google to understand what it’s about.
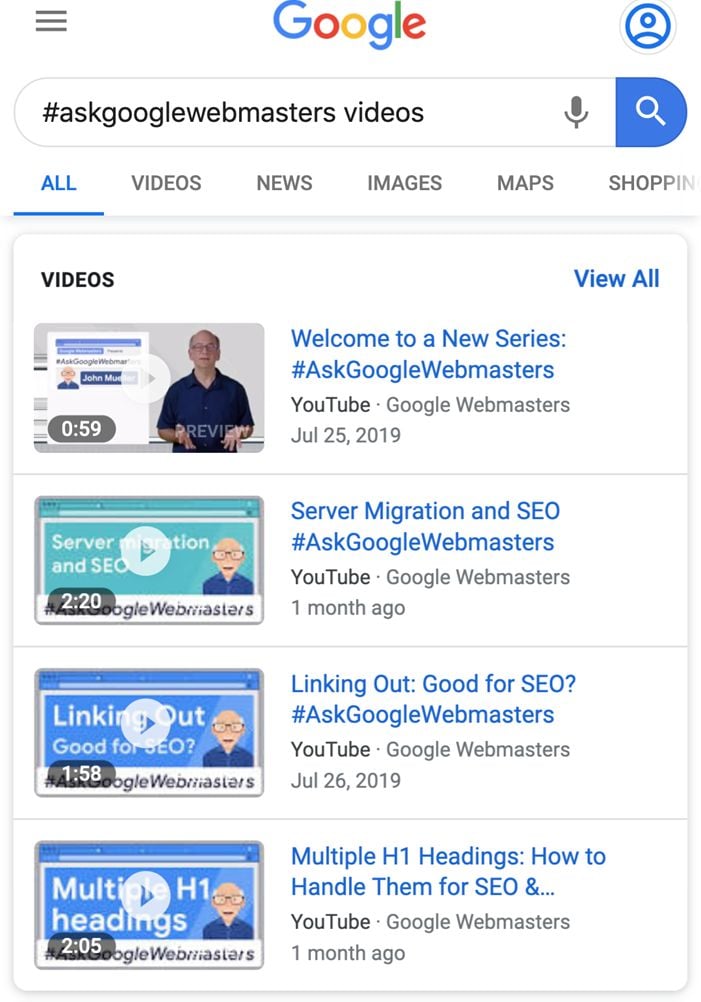
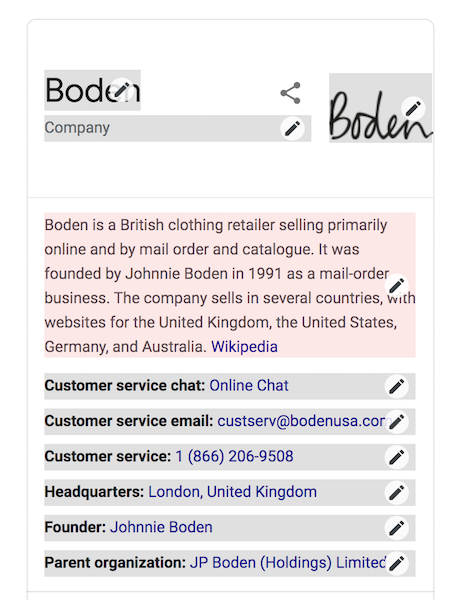
The code appears as rich snippets in the SERPs and displays a video thumbnail/preview, along with other info, such as a title, description, date uploaded, length, etc.
Here’s an example:
The major search engines like Google, Bing, and Yahoo! all support video schema, and it comes in different types, including:
- VideoObject (a markup that enables Google to understand your content and feature it as rich snippets).
- EmbedUrl (a video schema markup for when you’ve embedded a video from another site, like YouTube, for example)
- ContentUrl (which points to a video media file)
Why Is Video Schema Markup Important For SEO?
OK, so Google doesn’t consider video schema as a ranking factor, and Google’s John Mueller has previously confirmed this.

Nevertheless, video schema markup does affect your SEO indirectly.
Providing video schema helps Google and the other search engines identify content that meets searcher intent and queries. This increases the chances of your content appearing in the rich results in SERPs.
Increased visibility often means more visitors and conversions; the more relevant your content is, the happier your visitors are.
Ultimately, this leads to an improved search engine position, boosting your SEO efforts. Some marketers report an increase in visibility of up to five percent when adding video schema.
How To Implement Video Schema
For the technophobes out there, adding video schema markup might seem daunting, but it’s not as difficult as it sounds.
Hold on while I talk you through it step by step.
Before you start, check if your chosen page supports rich results. Google has a free tool you can use.
Just enter your URL or HTML, and click ‘Test Url.’ You’ll then get a message saying it’s checking the URL.
Once the test is complete, you should see something like this:
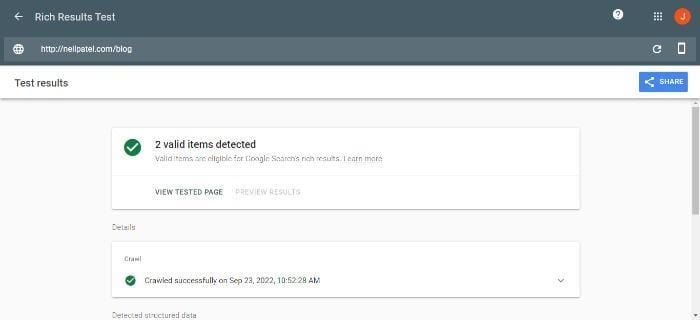
If you’re testing for mobile, use the ‘Googlebot smartphone’ option. The tool also checks for schema validation errors.
If you want to add video schema manually:
- Start by generating your schema. To do this, go to Google’s Structured Data Helper.

- Next, copy in your URL or click on the ‘HTML’ option and enter your code into the box.
- Once you’ve done that, the page you’re adding schema to appears. At the top of the page, you’ll see a heading in red called ‘tag data.’ You’ll get a list of data items on the right-hand side of the page. Highlight any of the items that are listed in bold.
- Then, click on the ‘create HTML’ button, view the data, and download it.
- Once you’ve downloaded the data, you can add it to your content management system by following your host’s instructions.
You can also automate your video schema markup with plug-ins. Available tools include:
- Yoast (paid)
- Schema Pro (paid). The site also offers a free schema markup course.
- All in one Schema Rich Snippets (free WordPress Plug-in)
For YouTube rich snippets, there’s the free videoschema.com tool. Just enter your URL and hit ‘generate’:
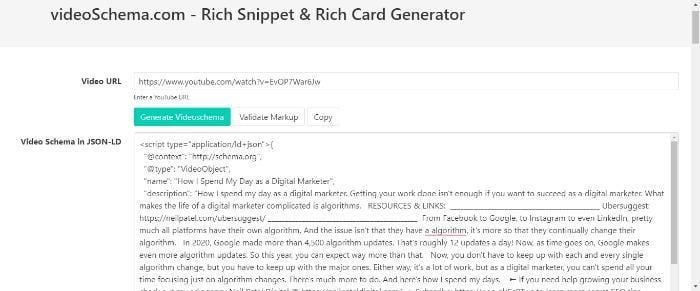
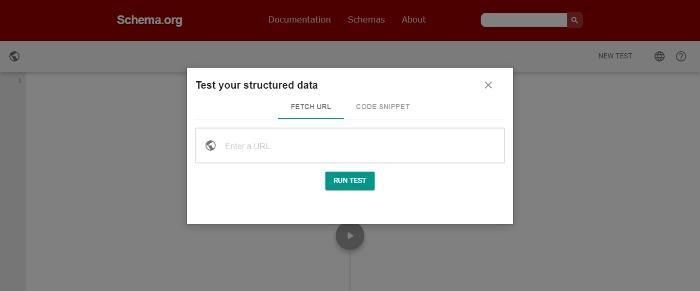
Then, click ‘validate markup’ to go to Google’s validation tool. Google suggests using its rich schema validation tool before accessing Schema.org to verify your code. Enter the URL and click the green ‘run test’ button to use it.
Video Schema Best Practices
As you build your schema markup strategy and evaluate your site content, keep these best practices in mind:
- Have a strong strategy in place. Decide which content you’d like to rank for and the videos you want to promote.
- Include optimized keywords throughout your content, including descriptions, titles, and pages.
- Keep your video schema updated as you change your website’s videos, such as changing the title, description, or thumbnail image.
- Avoid schema stuffing (adding excessive keywords into a website’s schema markup to fool search engines into thinking the site’s relevant).
- Keep your video schema up to date as you make changes to your website’s videos, such as changing the title, description, or thumbnail image.
- The title, description, or thumbnail.
- When choosing the video schema type, use the search engine’s preferred format. For instance, Google recommends JSON-LD. Alternatively, you can use Microdata or Resource Descriptive Framework in Attribute (RDFa, which is a standard for representing data on the web).
- Use a validation tool to test your coding.
- Include all the required fields. When adding video schema markup to your page, there are a few required fields that you’ll need to fill out, such as the name of the video, the URL, and a thumbnail image.
- Make sure your videos are properly tagged and categorized. This will help search engines understand what your videos are about and make it easier for users to find them.
- Consider using a tool to track your video schema results.
- Use descriptive titles and descriptions for your videos. Again, this will help both users and search engines understand what your videos are about.
- Include a thumbnail image for each video. Providing a preview of the video content helps users decide whether or not they want to watch it.
Google offers the following guidance:
- Ensure your video schema is a clear representation of the page.
- Include all specified properties (description, title, date, etc., or your content won’t appear in rich snippets.
- If your page includes multiple forms of content, use different rich snippets for each content type to increase your chances of appearing in rich results. For instance, if your page includes videos, reviews, and articles, include the relevant schema for each content type.
- Follow Google’s content quality guidelines.
FAQs
What Is Video Schema?
Video schema is a type of structured data that you can add to a website to help search engines better understand the content on the page. It provides information about videos, including the title, description, thumbnail image, and duration, which the web crawlers then use to generate results from online searches.
Where Do I Put Video Schema?
Technically, you can decide where you want the video schema markup to appear on your website, but there is a preferred method. Schema should ideally be loaded in before closing the </head> element. If there are other page-critical scripts in the <head> tag, those should be loaded first. Then, the schema can be loaded in last before closing out the <head> tag.
Are Videos Structured Data?
Videos are unstructured data, meaning it is information that doesn’t have a predefined structure or format. In contrast, structured data has a predefined structure and comes in a standardized format. An example would be an e-mail or an Excel database.
Conclusion
Video schema markup is an important tool for improving your video visibility. Including key information about your video content in your website coding can help search engines deliver relevant content to searchers and improve your chances of appearing in rich snippets.
This extra visibility can reward you with fresh leads and increased reach and potentially assist your Google ranking by getting relevant content in front of searchers.
Including schema markup is easy, and you can use automation tools to install schema at a click.
To get the most from video schema, use other techniques like video SEO to further optimize your marketing efforts.
Do you use video schema? How does it help your marketing?
The post Video Schema Markup: Improve Your Video Visibility appeared first on #1 SEO FOR SMALL BUSINESSES.
The post Video Schema Markup: Improve Your Video Visibility appeared first on Buy It At A Bargain – Deals And Reviews.