How to Make a Website in 6 Easy Steps
Disclosure: This content is reader-supported, which means if you click on some of our links that we may earn a commission.
Making a website has gotten much, much easier over the years. It’s cheaper, faster, and more straightforward than ever before.
But what do you really need to build a website?
A stable internet connection and an hour or two of your time is plenty.
You don’t need any web development experience or tons of money, don’t worry.
In this step-by-step guide, I’ll teach you how to make a website from scratch in just one afternoon. Just follow my tactics below to avoid the mistakes I made when I was starting from ground zero.
Your 2-Minute Cheat Sheet
Here’s your quick-start guide to making a website. This section won’t cover the details–just the crucial steps–each step is broken down in more detail below.
Start by choosing the right web host. We highly recommend Bluehost for speed, reliability, and ease of setup. It only costs a few bucks a month, and it’s got everything you need to make your first website look professional.

Then you’ll need a domain name that represents what your website is going to be all about. A .com domain name is best because it helps you earn brownie points in the eyes of visitors.
One reason I like Bluehost so much is that they throw in a free domain name for the first year. That saves you some cash and the extra step of having to go through a domain registrar.
Once you’ve registered your domain name, choose a content management system or CMS. You can consider WordPress, Joomla, or Drupal, among others.
I like WordPress the best and it’s what I use for my site. If you go with Bluehost, WordPress is a one-click install.
Boom, now you have a version of a website up and running. Congrats!
But you aren’t done yet.
Next on your list would be to market your business. Since branding is crucial today, you need to consider a logo, write your website copy, plan your marketing strategy, and definitely install Google Analytics.
Basically, the exciting stuff that you may know all about already.
Now let’s discuss how to build a website in more detail. Keep reading or jump right to the step you need help with:
- Choose Web Hosting
- Select a Unique and Relevant Domain Name
- Select a Good Website Building Platform or CMS
- Design Your Website to Make It Look Awesome
- Protect Your Website by Using a Child Theme
- Configure Your Website and Add Relevant Content
Step #1: Choose Web Hosting
Do you remember how your school library had those large categorized bookshelves?
A web hosting company is precisely like that bookshelf, while the library is the internet.
A hosting service provider or a web hosting company stores your website on a server, making everything you put up on your website visible on the internet and your visitors.
These companies offer monthly or annual plans on shared servers, dedicated servers, or virtual private servers, allowing you to choose a plan according to your security and support requirements.
If your website doesn’t collect or store personal or financial data, you can always select the basic plan. So, you don’t have to shell out a lot of money.
But how do you know which web hosting company or service is right for you?
Site Speed
If you want to earn money from your website, you need to get a stable and fast web host.
Fast sites have many things going for them. They rank better, help with SEO, and maximize conversions.
I would 100% recommend Bluehost, as it keeps loading time minimal and short.
That said, we would also advise you to avoid shared hosting or overly cheap services.
Shared hosting means you’ll be sharing your web server with thousands of other sites. In other words, hosting speed will be slow–plus, you may even end up sharing the server with spammy sites, which you may end up with you facing the brunt of Google.
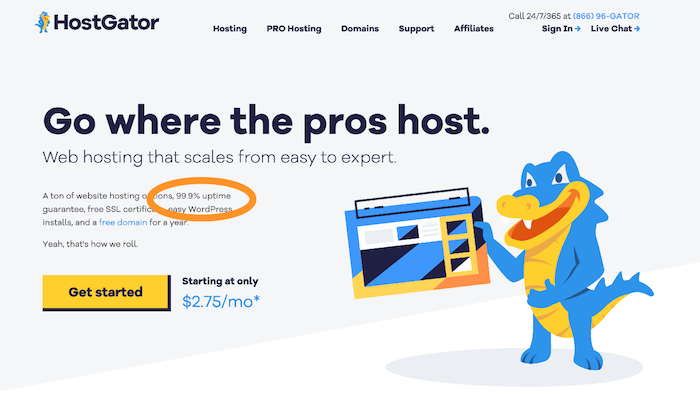
As for skipping cheap hosting services, the rule here is simple: You get what you pay for.
The level of security, speed, and uptime wouldn’t be as great when you pay $5 per month, especially when you compare it to plans costing more than $120 per month.
I’m not telling you to buy the most expensive plan–just avoid the cheapest hosting.
Uptime Dependability
Your web hosting service should always operate properly. Otherwise, no one can access your website.
A good hosting provider provides you an uptime guarantee–something like “We offer a 100% network uptime guarantee” or similar claims.
For instance, if a hosting provider tells you 99% uptime, your site can be down for 3.5 days a year. But providers offering 99.99% or 99.999% will have about one hour and five minutes downtime, respectively.
Look for a provider that offers a guarantee for insurance. If your website goes down, you can be compensated with hosting credits.
Customer Support
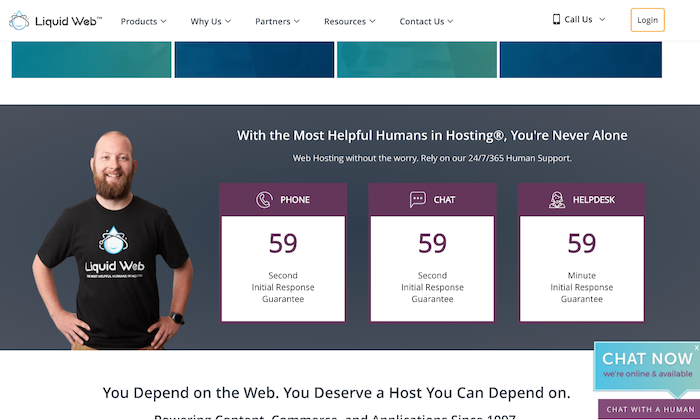
You’ll need quick and efficient backup support when technical difficulties arise. Chat, email, or telephone – there are various support methods. In my experience, though, email is the absolute worst. It’s much better to receive support by phone or live chat.
Choose a hosting provider that offers 24/7 support. This way, you’ll be able to get your business back online if something goes wrong within minutes.
You should also check your service level agreement (SLA) to get an idea of the kind of support you’ll receive. Looking at the company’s website will give you an idea about their support team too.
Definitely go with a host that offers you a free trial period–it’s the only way to get a real sense of the service you’re going to get. Even if you don’t need help, hit them up a few times during the first 30 days. See how quickly they get back to you.
If your new host is slow to respond, the quality of service is probably not going to improve. That’s why the free trial is so important. Bluehost lets you cancel for free within the first month if you’re not happy. DreamHost offers a 97-day money-back guarantee.
Scalability
Scalability is vital for two reasons. First, a hosting provider should grow organically with you, enabling you to upgrade when needed. Second, your website should be able to handle massive spikes in visitor numbers.
Consider the following questions to understand whether your web host is flexible:
- Will the web host upgrade you from an entry-level shared hosting plan to an intermediate VPS when your visitor numbers reach a certain level without any downtime?
- How easy is this upgrade process?
- Can the web host support seasonal fluctuations in web traffic seamlessly?
You should aim to get a solution that checks all three boxes.
Visit web hosting forums to learn about other people’s experiences with providers. Then compare services and prices to determine the right plan based on your needs and budget.
With a web host provider in place, you can move on to Step 2.
Step #2: Select a Unique and Relevant Domain Name
Don’t go looking for the perfect domain name–there isn’t one. Some names better than others, but ultimately, it’s a small part of your business. The content of your website remains most important.
A domain name is your website’s address on the internet. Mine is NeilPatel.com, and it reflects my personal brand. Yours can be anything you want it to be, provided it’s related to your business, topics that you want to write about, or your name.
The options are endless!
Following are a few rules of thumb to help you choose the right domain name:
- Keep it relevant
- Stick to short, memorable names
- Avoid numbers
- Choose a .com, .org, or .net
- Make sure your chosen domain name is available
Find the perfect name is also possible using the following methods:
Method 1 – Brute Force Method
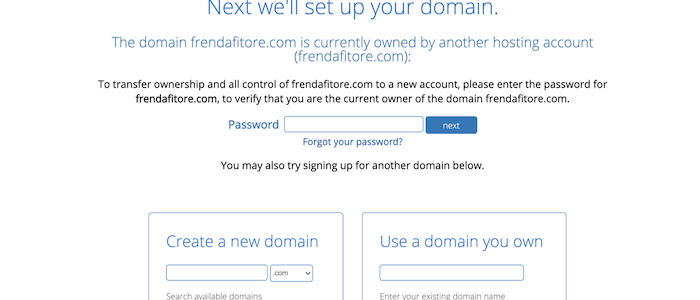
Many have the creativity to come up with the perfect domain name independently. If that’s you, you’ll need a domain name registrar to purchase the domain, and then search the availability of your prospective domain name.

Bluehost is a great place to start, as it gives you a free domain for one year with their hosting plans, and you can search availability.
I’ll also advise you to avoid going for domain names that have hyphens (like neil-patel-marketing.com) even when you get it at a dirt-cheap price. It can get confusing.
Method 2 – Use a Tool
Some of us are not very creative, and that’s okay.
If you get stuck when coming up with a domain name, try using name generators. Just enter one or two keywords, and the generator will look for ways to combine those words into a domain name.
In addition to speed and downtime reliability, Bluehost also allows you to check domain name availability. Visit the sign up now page and enter your domain name in the box, and voila! You’ll have a name.
Bear in mind that your preferred domain name may be unavailable. Try mixing up words, using a thesaurus, or adding a verb if it happens.
After you’ve chosen your domain name, you’ll next need a website building platform.
Step #3: Select a Good Website Building Platform or CMS
A quick Google search about website builders and CMS will leave you overwhelmed with the enormity of options.
CMS stands for Content Management System. It allows you to edit your website within the domain itself, helping you save tons of time and make everything way simpler. Customizing layouts, settings, content, creating new pages and posts, and so on, becomes easier thanks to ready-to-use website templates.
Here are a few options to consider:
- WordPress. WordPress is number one when it comes to CMSs. It’s popular, user-friendly, and super easy to use. Moreover, the platform has over 58,000 plugins that allow you to do almost anything you want on your site.
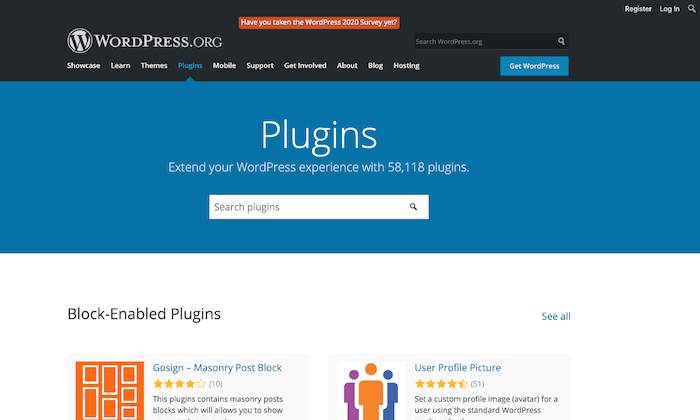
Keep in mind that WordPress.com and WordPress.org aren’t the same. While the former is a third-party site that allows you to create free blogs, the latter enables you to download the WordPress software to install on a website.
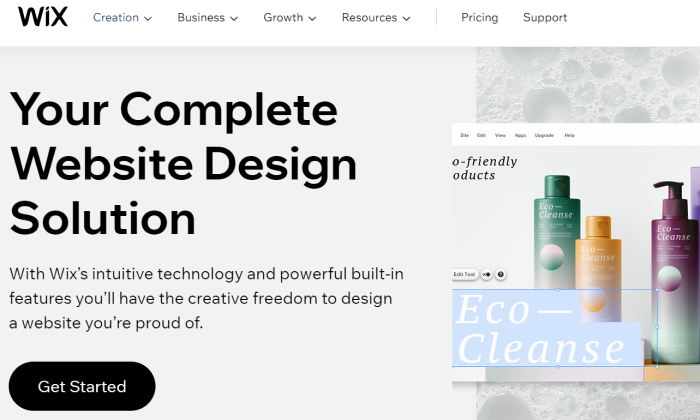
- Wix. Wix is another website builder that makes things super easy. If you need a site with just a few pages, like restaurants, local businesses, freelancers, or portfolio sites, this could be a great option. Their reliability (99.98% uptime) and security features (like 24/7 managed monitoring and optimization) give you peace of mind, as well.
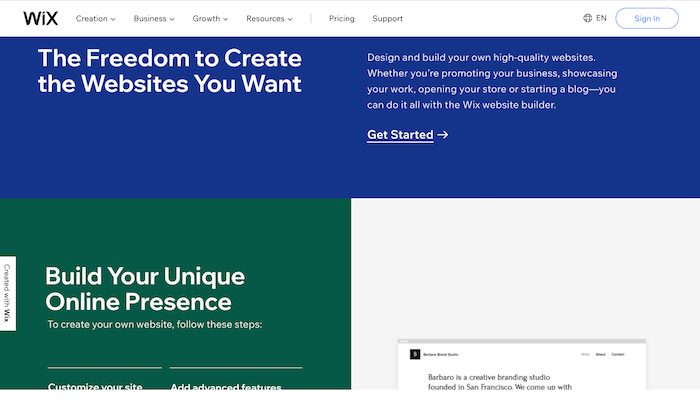
However, if you want to build a large site, Wix may lack the advanced features required for large amounts of traffic.
- Drupal. Drupal is the most advanced website building solution, which is why it has a steeper learning curve. Though when you consider the level of customization it offers, the hard work seems worth it.

While I don’t recommend Drupal for beginners, if advance customization is a priority on your list, this is hands down the best option. You can always hire an expert to learn the ropes of the platform.
You’ll now have a website up and running. All that is left to do is to make it look great.
Step #4: Design Your Website to Make It Look Awesome
For any website builder, you’ll have to install a theme. Themes can be free and paid, but the latter is more professional-looking and gives you more flexibility when customizing your website. They aren’t excessively expensive as well and can be bought for less than $100.
WordPress and Wix have some great free themes, but if you want to try out the premium variety, you can give StudioPress a shot.

Themes are built on the basic CMS but are customizable to give your website a unique look and allow it to function differently. After all, shouldn’t an artist’s website look different from a SaaS or a restaurant?
Visual representation is incredibly important as your visitors judge your website in a fraction of a second based on how it looks. If your site looks obsolete, untrustworthy, or doesn’t match their expectations, your visitors will be gone in seconds.
Luckily, choosing a good theme is easy.
I recommend reading reviews about the themes before choosing and never prioritizing visual appeal over functionality.
Yes, you want your website to look good with all those fancy fonts and colors, but that shouldn’t be at the cost of functionality.
Additionally, you can always change the theme at a later date. Just don’t change it frequently, as it will harm SEO and branding.
Step #5: Protect Your Website by Using a Child Theme
The best way to protect your website is to use a child theme. A child theme is a style sheet stored separately from the rest of your theme’s files on the webserver. Not only will it make your site hard to break, but it even protects you from redoing changes whenever you update a theme.
Keep in mind that different website builders have different names for creating a child theme.
You build a “child theme” in WordPress, but you create a “sub-theme” in Drupal. Also, some websites don’t allow you to create a child theme, but you can always make a duplicate theme to serve as back up, as in Joomla.
Step #6: Configure Your Website and Add Relevant Content
At this point, you’re done with most of the technical part and can now finally focus on the more interesting things.
Start by setting up navigation to make it easier for visitors to know what your website is all about and grant them easy access to different parts of your website. Choose a couple of colors to represent your site without going overboard.
For instance, I chose orange and white.
Organize, separate, and highlight the important areas of your website to make it eye-catching and clear. You can also install plugins to help your website function smoothly.
Here is a quick checklist of things you need to start marketing your business, especially if you want to earn money from the website:
- Get a logo. This will represent your brand, so be very careful here.
- Write your website copy, including the home page, About Me page, and other basic pages.
- Install Google Analytics code to your website to keep track of visitors.
- Start planning your marketing strategy to figure out your visitor’s likes and dislikes.
As for the last pointer, you’ll have to understand online marketing, content marketing, and the often neglected link building to gain visibility, generate leads, and achieve your business goals from your website.
Conclusion
Making a website does have its fair share of struggles, but the more experience you gain, the better you’ll become, and the easier it’ll be.
While we’ve covered all the necessary details for building your first website, if you find yourself getting stuck anywhere, you can turn to Google or YouTube to solve your problem.
Trust me, there are tutorials for almost everything out there on the internet.
Choosing a web host and CMS, designing your website, and marketing is just the tip of the iceberg. You can’t expect overnight success, but was just a bit of patience, you’ll see real progress.